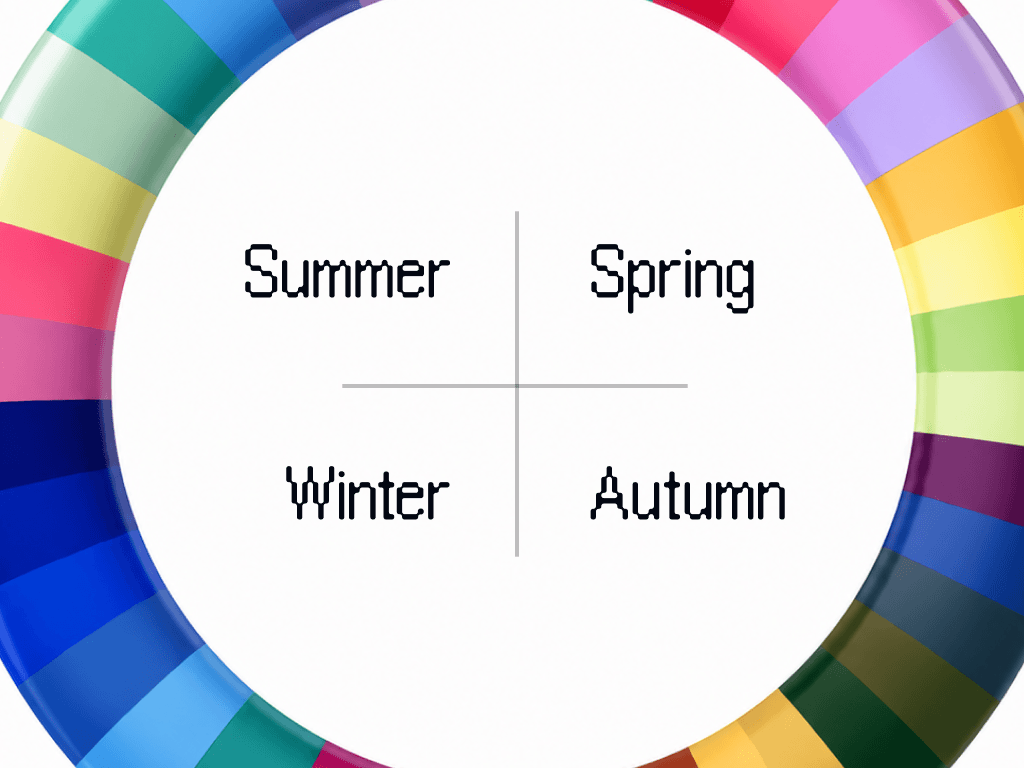
Your analysis ships with a Markdown file. It is a few kilobytes of plain text holding your color season, the verdict on all fifty colors, your body type, the cuts that work and the ones that do not, and the styles you said you actually wear.
ChatGPT reads that file natively. The job is to put it somewhere ChatGPT keeps seeing it, so you set this up once instead of attaching a file to every conversation.
Before you start
The file is on your analysis page under Connect to AI. Press Download .md and it lands in your downloads as wearly-labs-profile.md. If you are on a phone and the download is awkward, use Copy instead and skip to the shortcut at the bottom.
Two things to check when it arrives. The name should end in .md, not .md.txt, which is what some browsers do on the way down. And the size should be a few kilobytes, not zero.
Step 1: find Projects
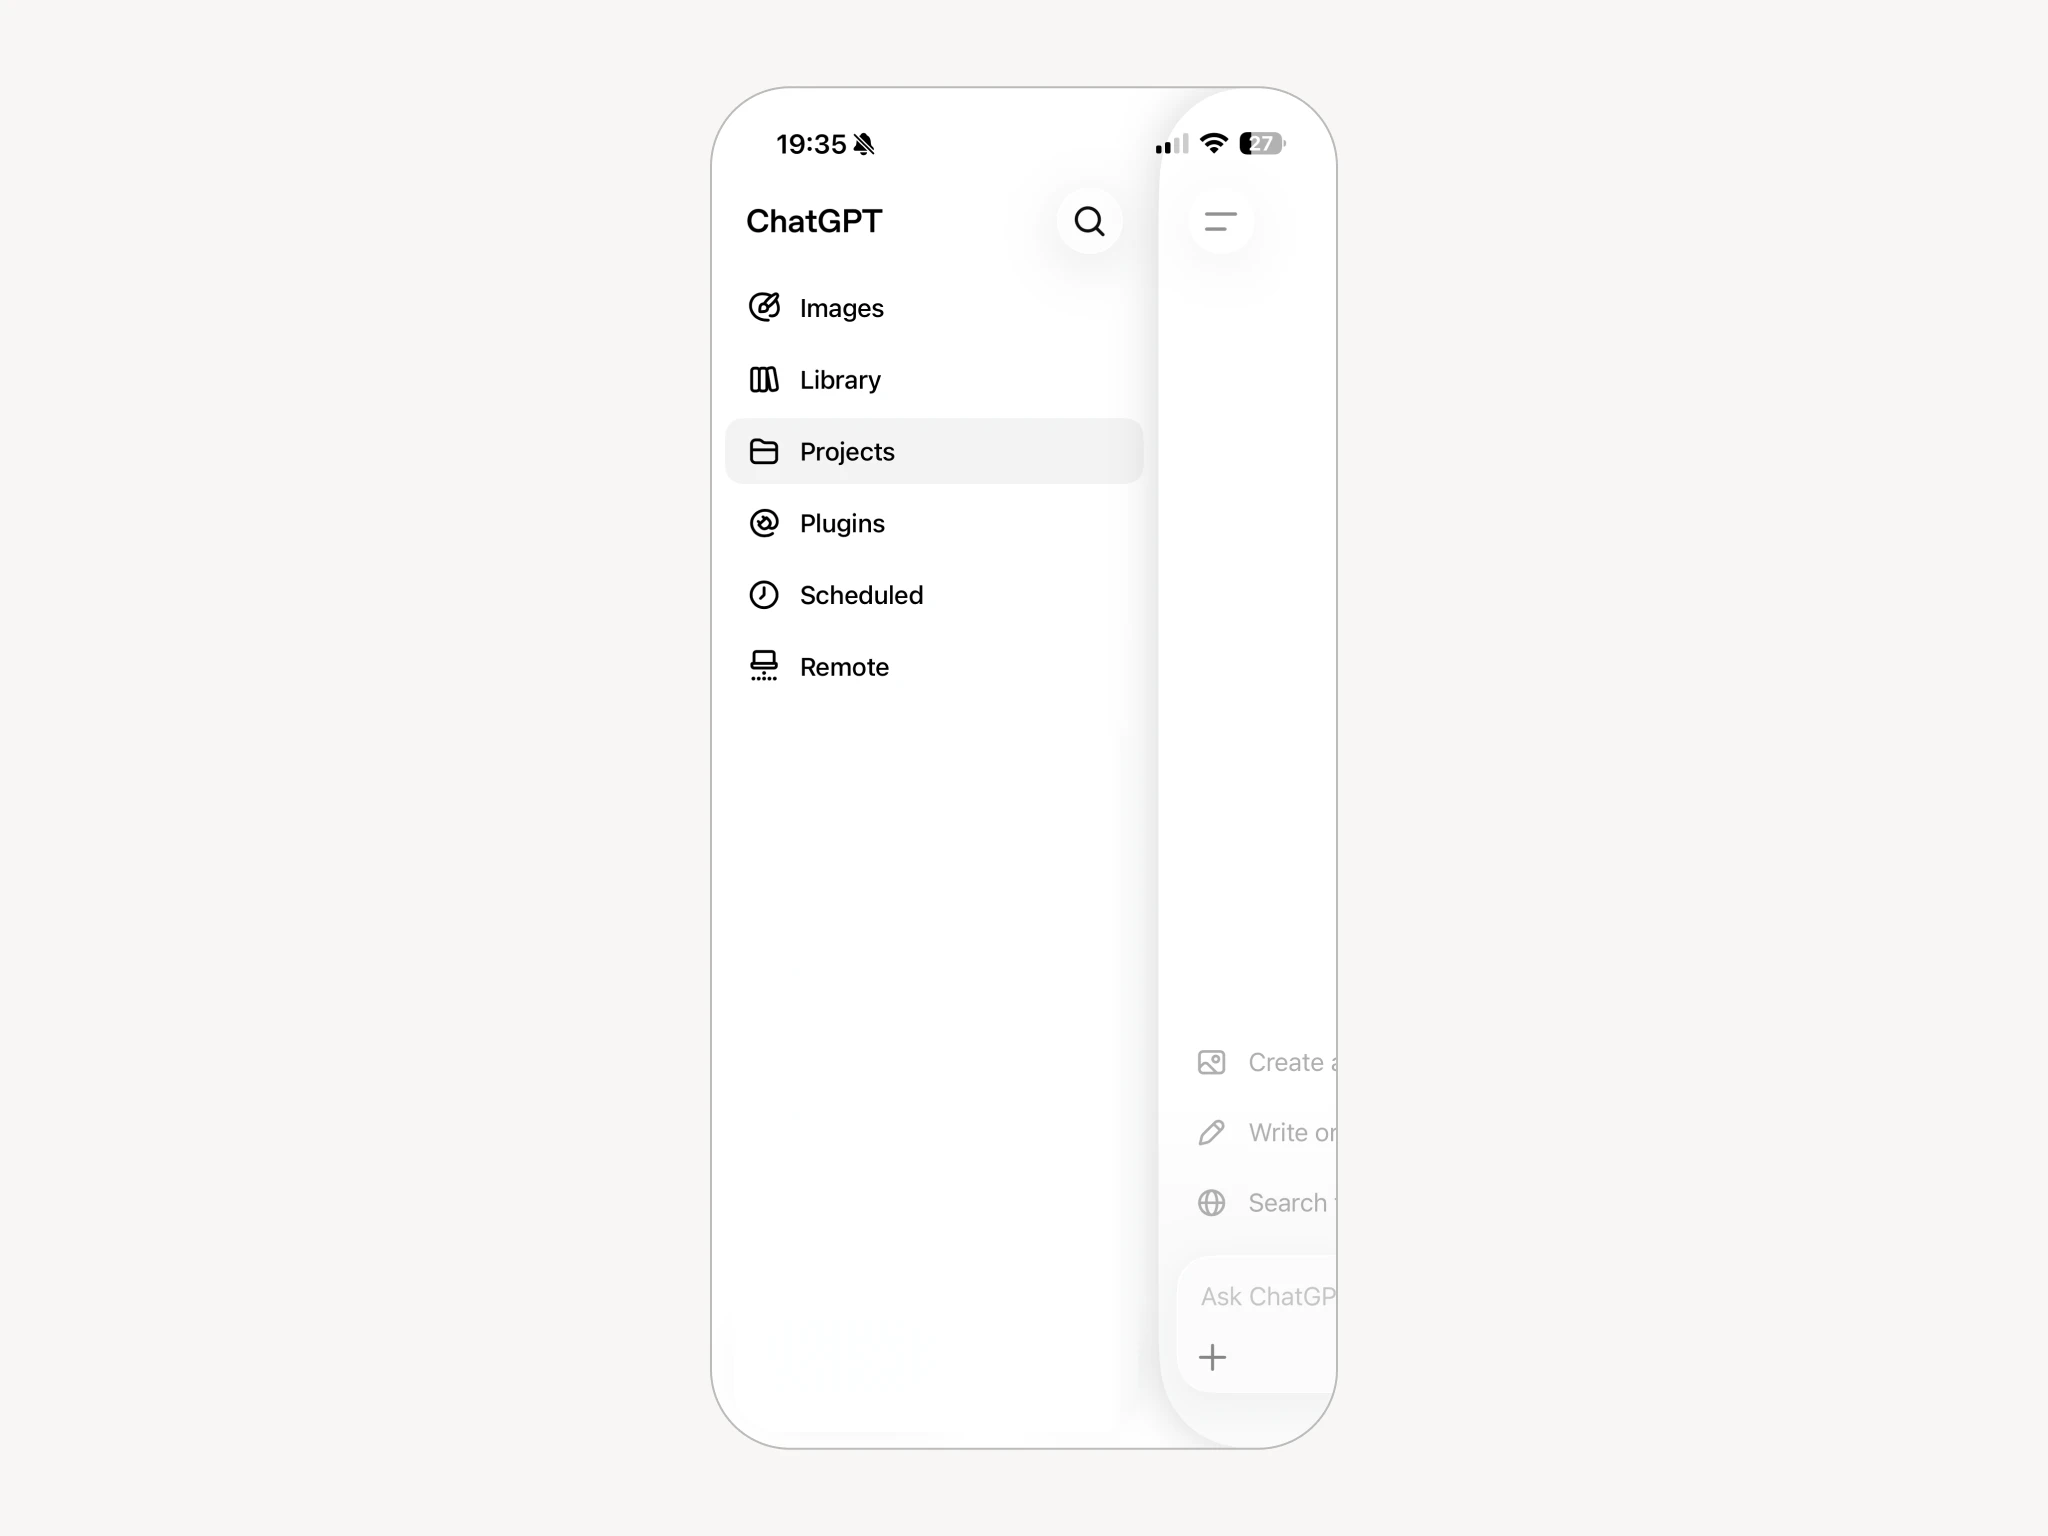
Open the menu from the top left. The list holds Images, Library, Projects, Plugins, Scheduled and Remote. Pick Projects.
A project is ChatGPT's folder: a set of chats that share their context. Everything you put in one is available to every chat inside it.
Step 2: make the project
Create a new project and give it a name you will recognise in six months. "Wearly Labs" is what we use in the screenshots. "My style" or "Wardrobe" works as well; the name has no effect on the answers.
Step 3: add the file as a Source
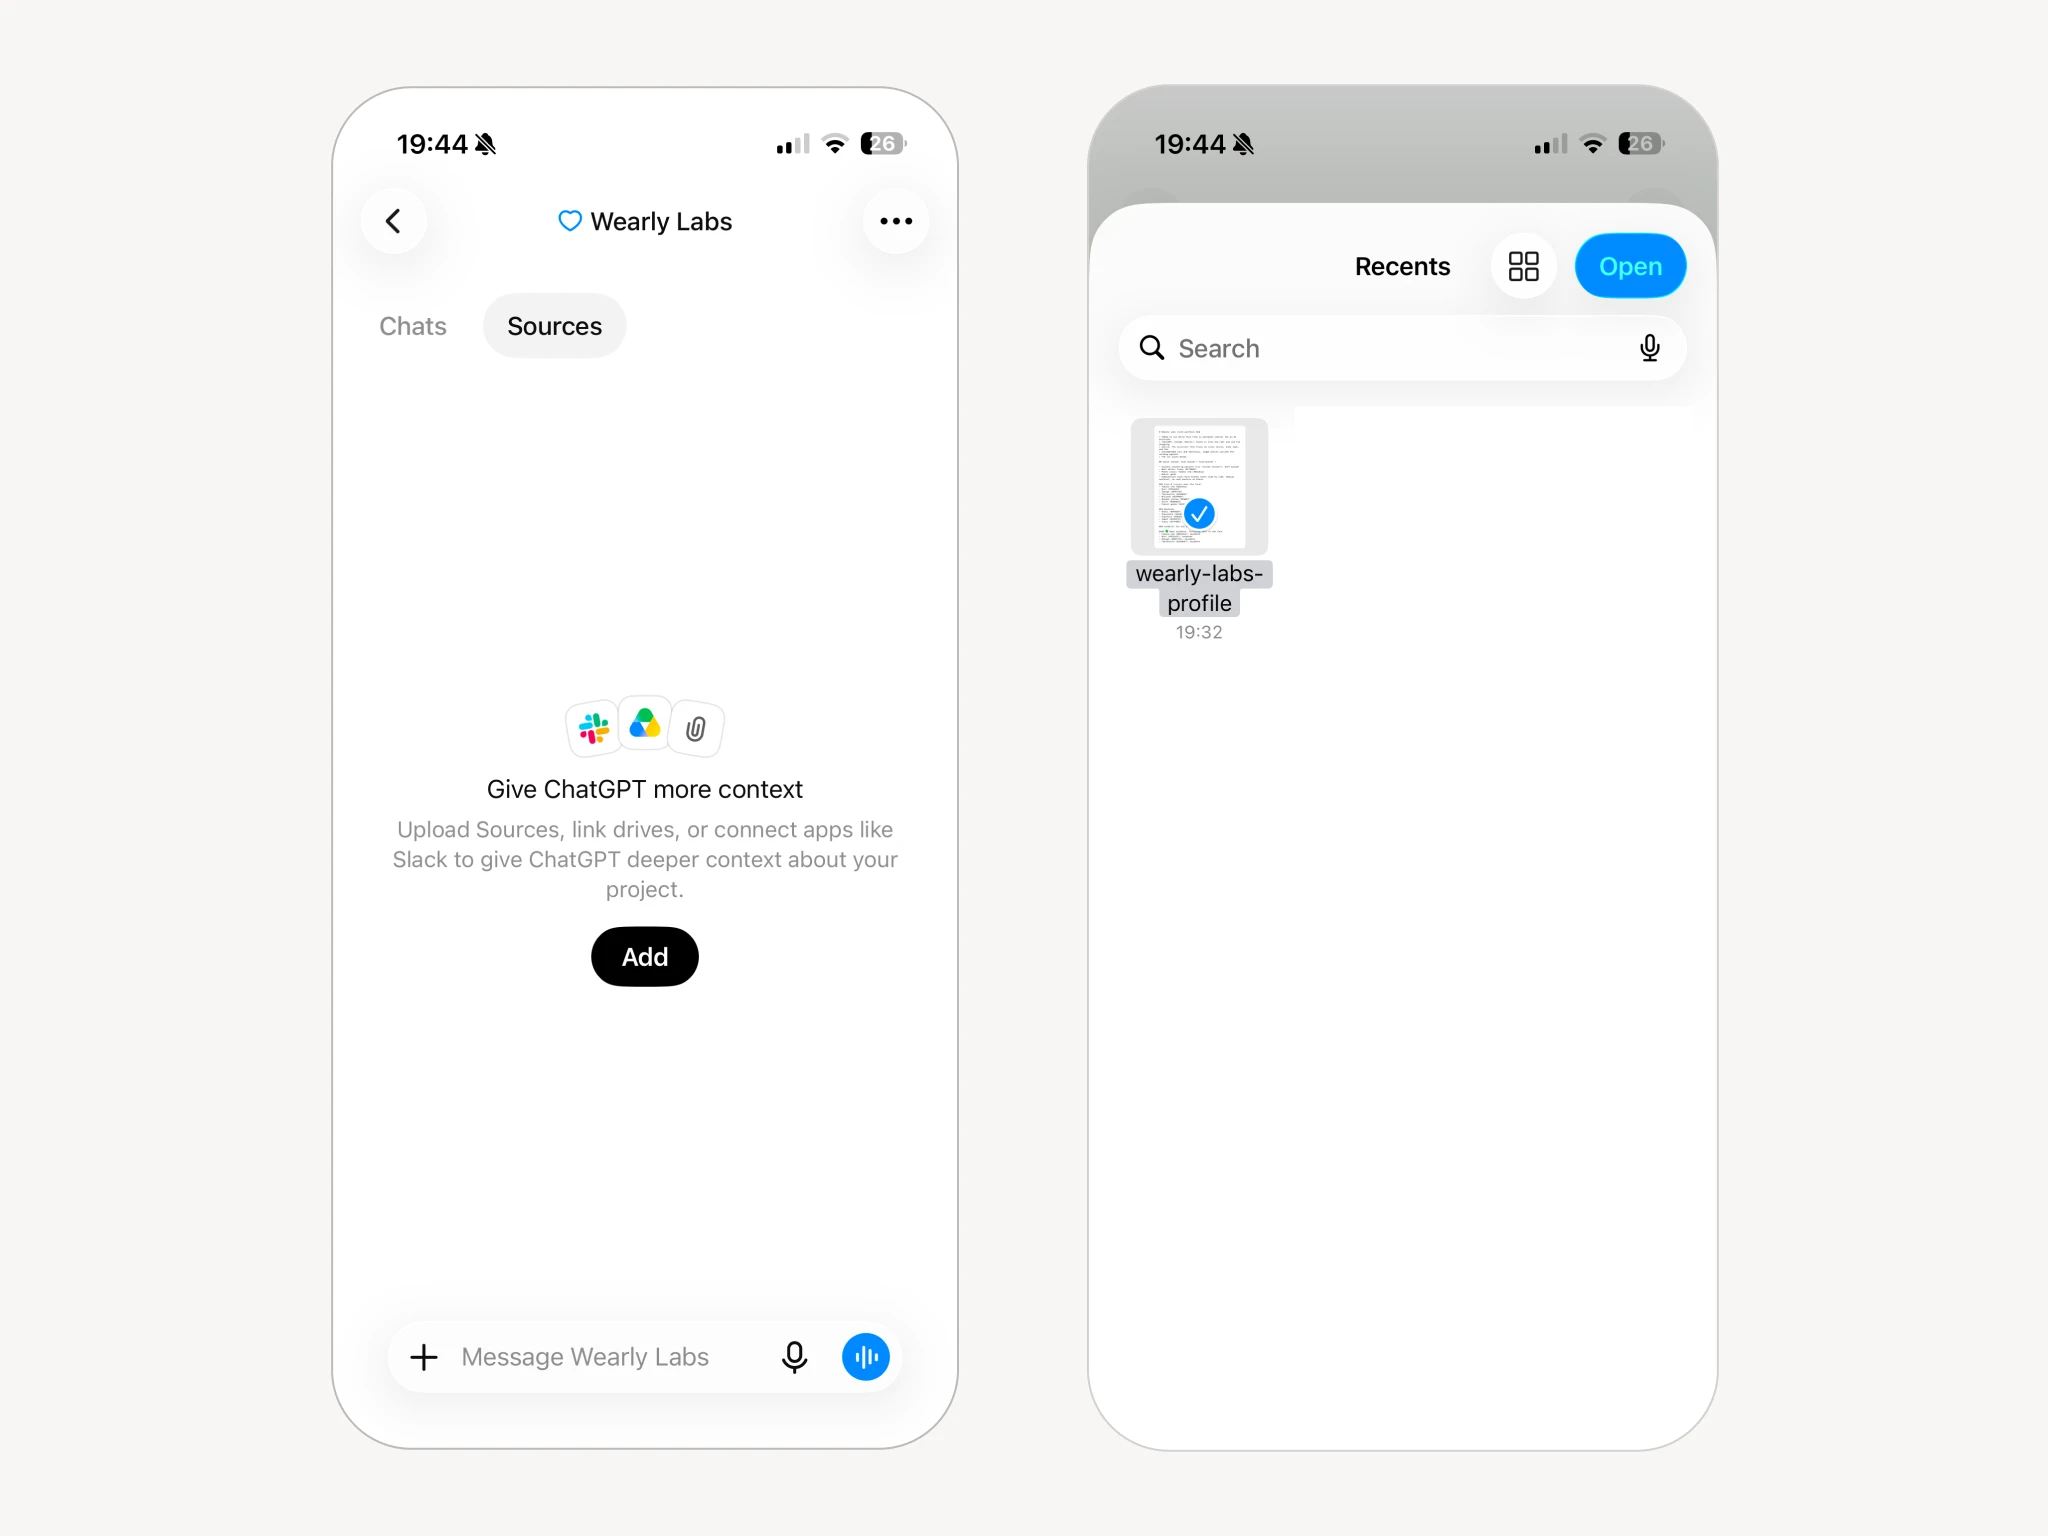
Open the project and switch from Chats to Sources.
An empty project says "Give ChatGPT more context. Upload Sources, link drives, or connect apps like Slack to give ChatGPT deeper context about your project." Press Add, then pick wearly-labs-profile.md from your files.
It comes back listed as wearly-labs-profile.md with Markdown under it. That listing is the confirmation: the file is attached to the project, not to a conversation, so it survives every new chat you start in here.
Step 4: tell it what the file is for
A Source tells ChatGPT what you are. It does not tell it what to do about that, and the difference between a useful setup and a disappointing one is entirely in this step.
Put the standing instruction in the project itself if your build offers a field for it. If it does not, paste this as the first message of your first chat in the project:
You have my personal style profile as a source in this project. Act as my shopping and styling assistant. Whenever I ask what to buy, share a product link, or send a photo, check it against my color palette, my body type and my recommended cuts before answering. Tell me straight whether it works and why, in one or two sentences. If it does not work, name a specific alternative that does. Never recommend anything on my Skip list. Do not hedge.
Adjust the last line to taste. "Do not hedge" is there because the default register of an assistant is to give you three options and let you decide, which is exactly what you paid not to have to do.
Step 5: test it with something you already know the answer to
Do not start with a real shopping question. Start with a check.
Ask: What are my three best colors, and what should I wear instead of black?
The answer should name colors from your own palette, and it should name your report's substitute for black rather than a generic one. If you get a paragraph about how black is universally flattering, the source is not being read. Go back to step 3 and confirm the file is listed under Sources.
What to ask once it works
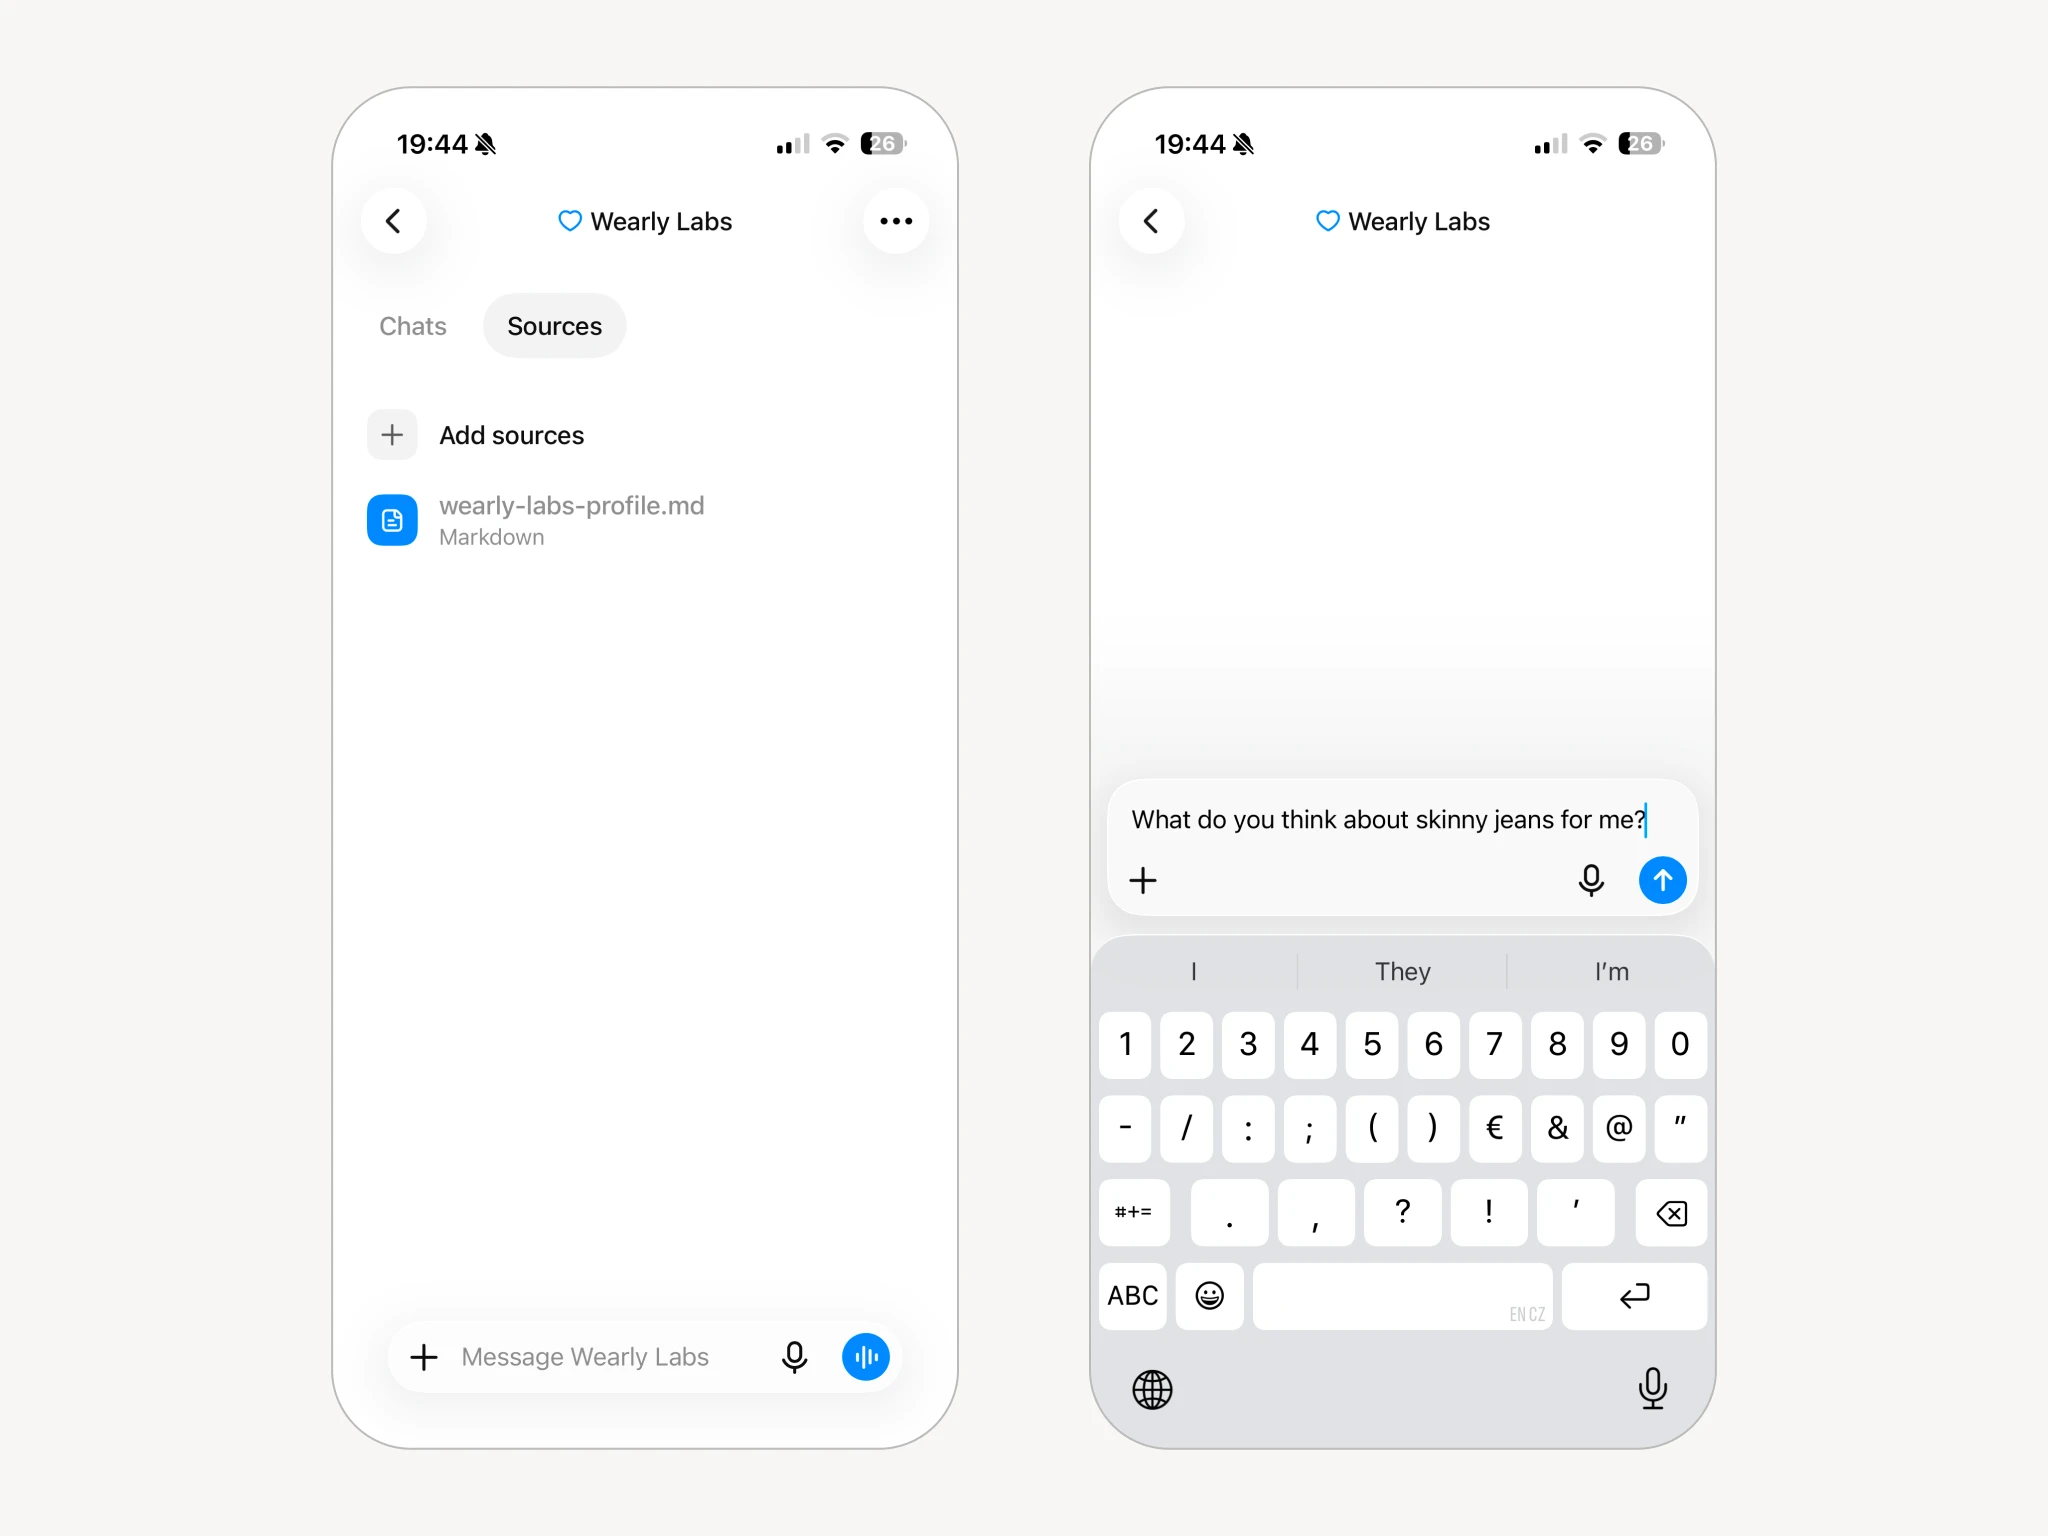
The useful prompts are the specific ones.
- The link check. Paste a product URL. "Does this work for me?"
- The rack. A photo from inside a shop. "Anything here worth trying on?"
- The pack. "Five pieces for four days in Copenhagen in October, all from my palette."
- The audit. A photo of a shelf in your wardrobe. "What earns its place here?"
Keeping it current
The profile is a text file, so you can edit it. Open it in any text editor, add a line under a heading that already exists, and re-upload it. Useful additions: sizes, a brand you buy a lot, things you will not wear whatever the analysis says.
Delete the old copy when you upload the new one. Two versions of your profile in one project is the one way to get contradictory answers out of this setup.
If you do not want a project
Attach the file at the start of a conversation and paste the instruction from step 4 as your first message. It works exactly as well, for exactly that conversation. You will do it again tomorrow.
The other shortcut, and the right one on a phone: press Copy on the Connect to AI screen and paste the whole profile as your first message, with the instruction under it. No file handling at all.
Troubleshooting
ChatGPT says it cannot see the file. Confirm it is listed under the project's Sources and not attached to a single chat, then start a new chat inside the project. An existing chat does not always pick up a source added after it started.
The answers are generic. Almost always the instruction, not the file. Ask it to restate your palette; if it can, the source is fine and the instruction is missing.
It keeps recommending one color. The profile names a power color and the model latches onto it. Tell it: "I already own three rust things, rotate."
The download became a .txt file. Rename it back to .md. Nothing inside changed.
FAQ
Projects and file uploads are available well below the top tier, and a paid plan mainly gets you a better model and higher limits. The profile is doing most of the work either way. If your account has no Projects, the per-chat fallback above gives identical answers.
That is between you and your ChatGPT account settings, and you can turn it off there. What we can tell you is what is in the file: color codes, cut names, style tags and your own answers. No photos.
Yes, and it costs nothing to do so. The same file works in Claude and in Gemini. It is a text file, not a licence.
The buttons move; the idea does not. You are looking for a place to keep a file that several chats share. If you cannot find one, use the shortcut above.