To take photos for a color analysis, face a window in soft daylight with the lamps off, turn off every filter and beauty setting, skip makeup, and hold a sheet of plain white paper next to your face. Then take every shot in that one sitting and that one light: for a Wearly Labs analysis that is five, your face straight on with the paper, at 45 degrees and in profile, and your body from the front and from the side.
On this page
A color analysis is only as good as what it can see. Feed it a filtered selfie shot under a warm kitchen bulb and even a good system is reading tea leaves. Feed it five honest photos and the whole thing snaps into focus.
Here is exactly what to shoot, why each rule is there, and the one paper trick that fixes lighting you cannot control.
Light first, everything else second
Do: indirect daylight. Face a window on a normal day, lamps off. Soft, even, boring light is perfect. An overcast day outdoors works too: the whole sky turns into one big soft light.
Don't:
- Direct sun (harsh shadows split your face in two).
- Warm evening bulbs (they pour orange over your skin).
- Mixed light, window plus lamp (two casts at once, the worst case).
- Flash (a hard light straight on flattens your features and puts a shine on your skin).
- Golden hour. Gorgeous for Instagram, useless for analysis.
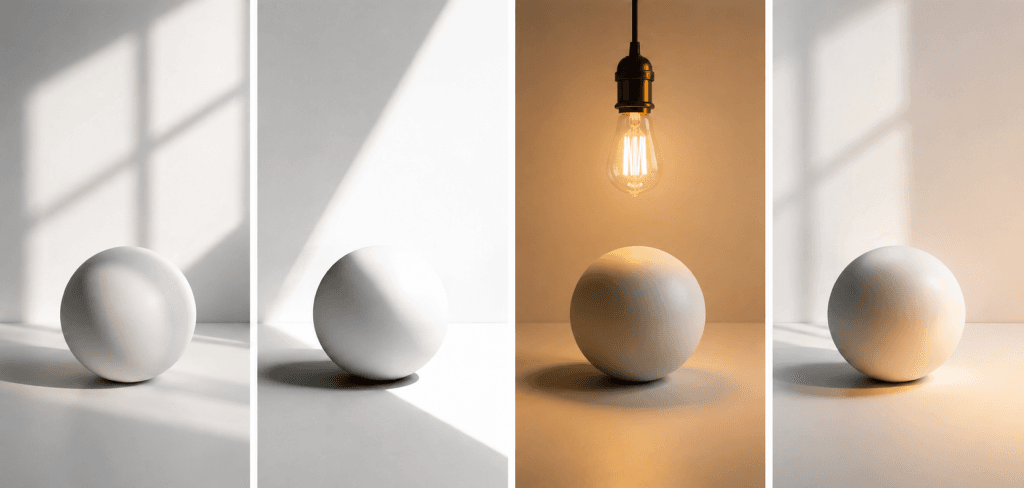
The bulb matters more than people expect. The International Commission on Illumination (CIE) puts typical tungsten bulb light at about 2856 K and average daylight at about 6500 K on the color temperature scale, where a lower number means a warmer, more orange light: two very different whites. A camera's auto white balance closes part of that gap, not always all of it. Canon's manual describes an auto setting that keeps some of a tungsten scene's warm cast on purpose. Skin photographed that way reads warmer than it is.
| Light | What it does to the photo | For your photos |
|---|---|---|
| Window daylight, lamps off | Even light with no bulb cast | Best indoors |
| Outdoors, overcast | Soft light from the whole sky | Good |
| Direct sun | Hard shadows, washed-out highlights | Avoid |
| Golden hour | Low sun turns everything orange | Avoid |
| Warm bulb | Pushes your skin toward orange | Avoid, wait for daylight |
| Cold white LED | A cool cast, and a ceiling light shadows your eyes | Workable, not ideal |
| Window plus lamp | Two casts at once, and no single correction fits both | The worst case |
After the last photo, the questionnaire asks what the light was like, so the analysis knows how far to trust the colors in your photos. If you only control one variable, control this one.
The white paper trick
Even decent light has a color cast your eyes auto-correct and a camera bakes in. So we borrow a tool from photography: a white reference. It is the same idea as a camera's custom white balance, where Canon's manual tells you to shoot a plain white object so the camera learns what white looks like in that light.
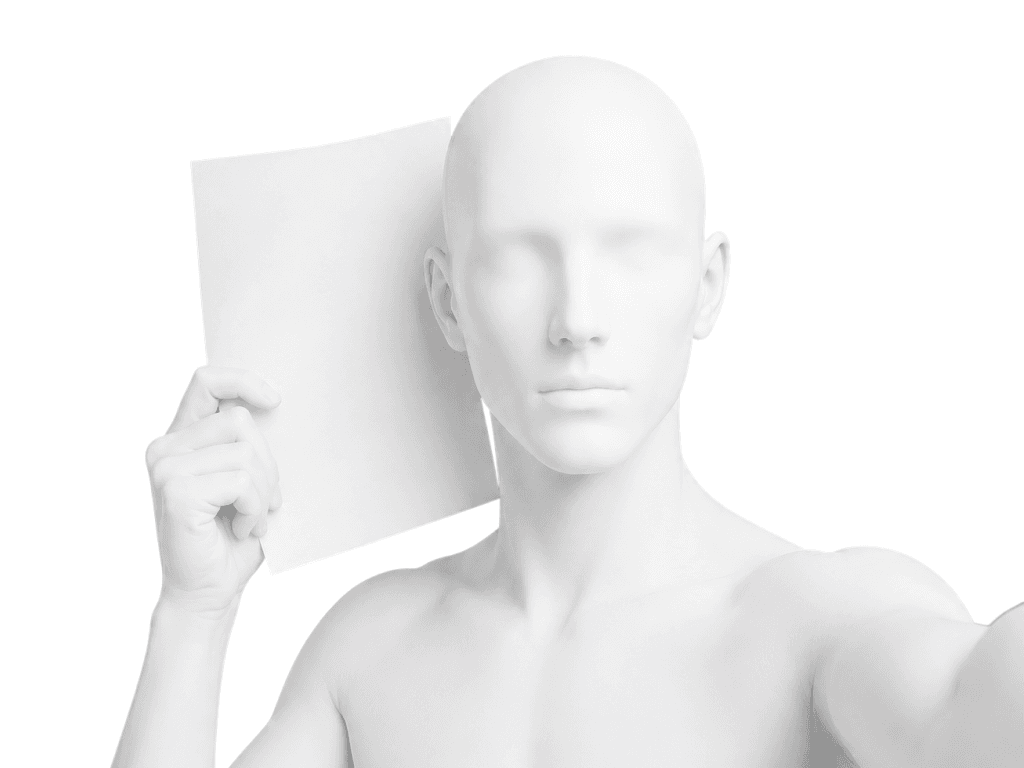
Hold a plain sheet of white printer paper next to your face in the first photo, roughly along its outline. We know that paper is white. So when it shows up slightly orange in your photo, the light was orange, and your skin got the same push. Your photos are read against the paper instead of against whatever your camera decided white was, and your actual skin tone comes through underneath.
It is a two-second step that does more for accuracy than any camera upgrade. Three details make it work:
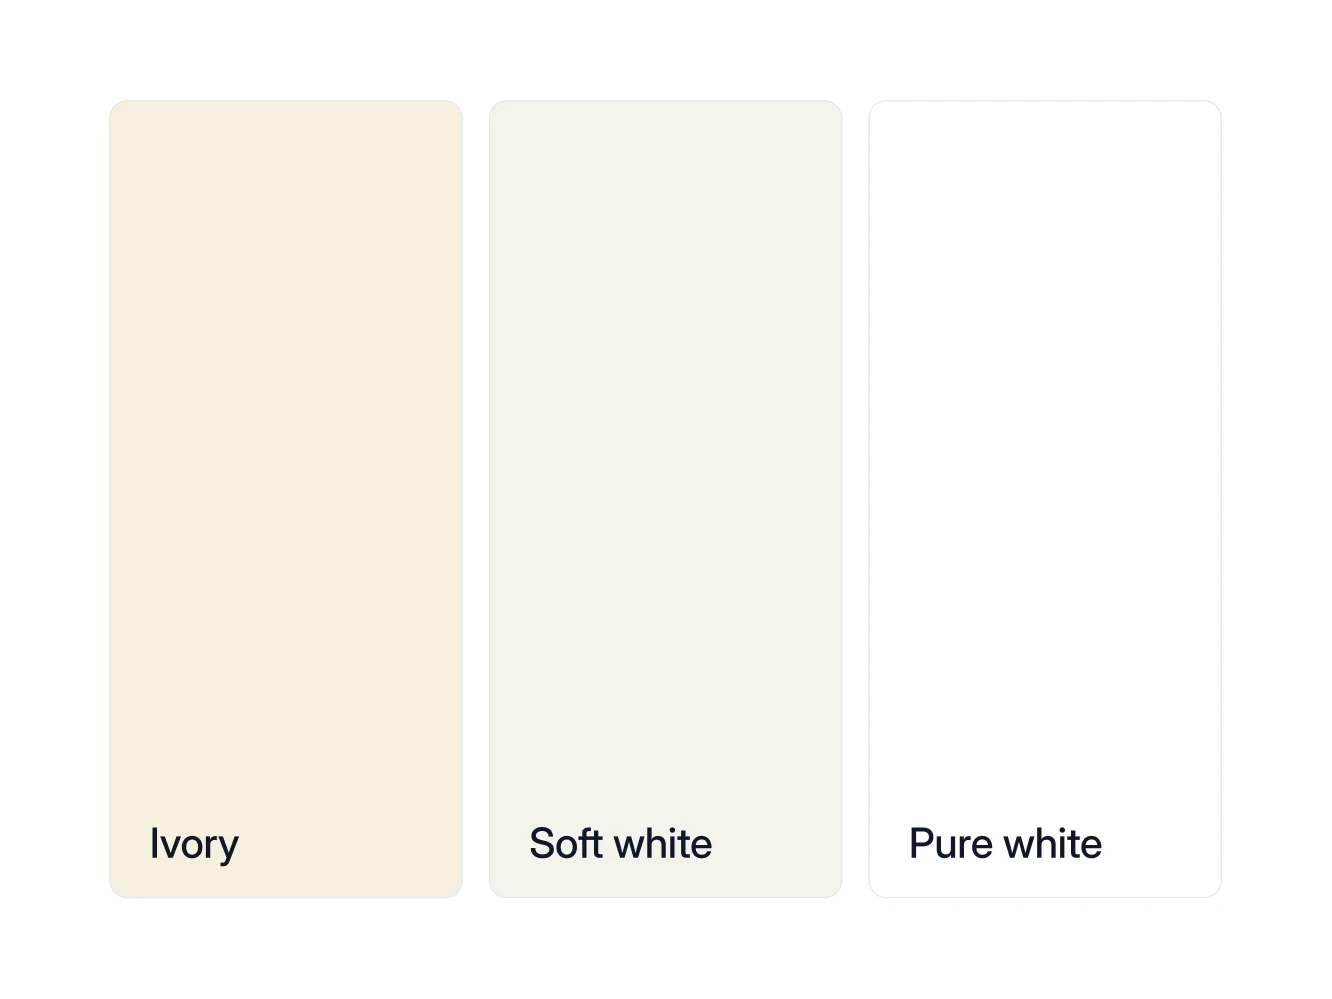
- Plain white printer paper. Not cream, not recycled gray, not glossy photo paper, which throws back glare.
- Lit like your face. Flat beside your cheek, not tilted away into shadow.
- One light for the whole set. The paper is in the first photo only, so it can vouch only for the light it was in. Change rooms halfway and the rest of the set has no reference.
The five shots
- Face, straight on, with the paper. Hair back, neutral expression.
- Face at 45 degrees. Halfway between front and profile.
- Full profile. Chin level.
- Body, straight on. Arms slightly away from your body.
- Body from the side. Same stance, turned.
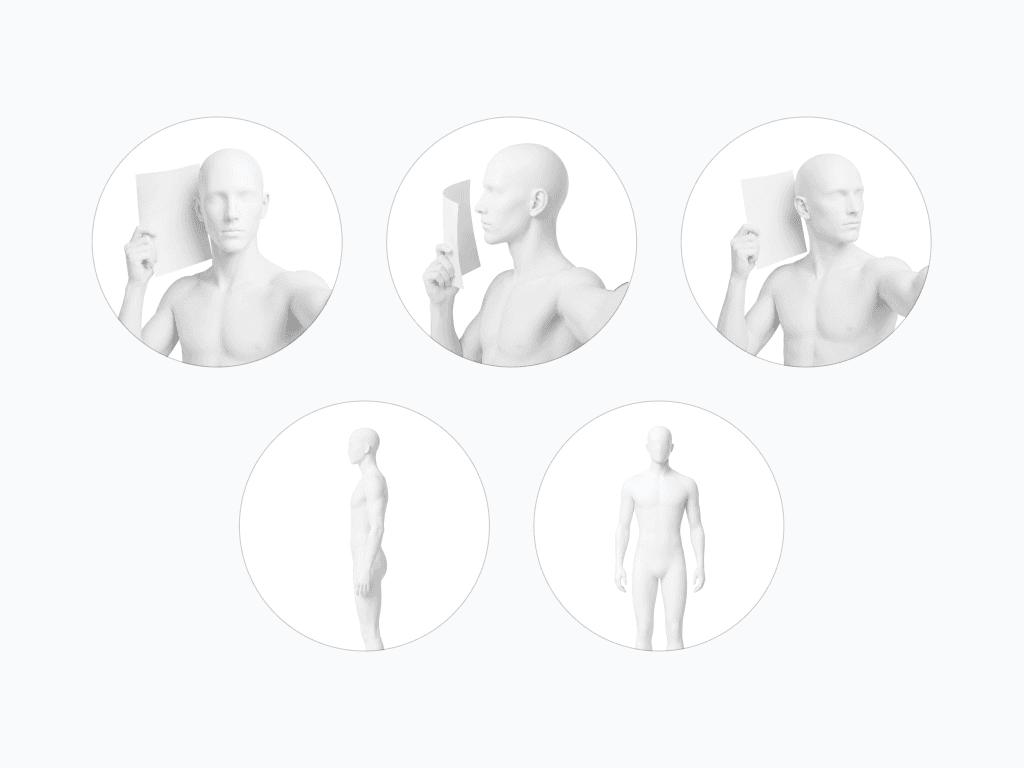
Wear fitted or minimal clothing for the body shots. The analysis needs your silhouette, not your hoodie's.
What each shot is for: the face shots carry your skin, hair and eye color, and the first one carries the paper. Your line (sharp, medium or soft) is read partly from the photos as well, from your bone structure, your facial features and the line of your shoulder, and checked against your answers. Your body shape comes from your answers and the two body shots, weighed by fixed rules.
For the body shots, prop the phone at about waist height, level, far enough back that you fit from head to feet, and use the self-timer or ask someone. A phone tilted down from eye level, the usual mirror selfie, shortens your legs in the picture, and your proportions are exactly what these two shots are for.
The five mistakes that ruin the read
- Filters and beauty mode. They repaint the exact pixels we need. Turn them off, including the subtle default ones. Some selfie cameras tint the whole picture as well: Samsung's lets you choose a warm or natural tone for the whole image.
- Makeup. Foundation is literally a layer of different-colored skin. Skip it for the face shots, and let a self-tan fade first: it darkens the skin by reacting with the skin's surface, which makes it a color on top of yours.
- Half-shade. Standing half in window light, half in room shadow splits your face into two different people.
- Glasses. Tint and reflections cover the eye area. Off for the face shots, and tinted contact lenses out.
- Low resolution. A screenshot of a photo of a photo has lost the colors we need. Shoot fresh and upload the original.
What happens if a photo is bad anyway
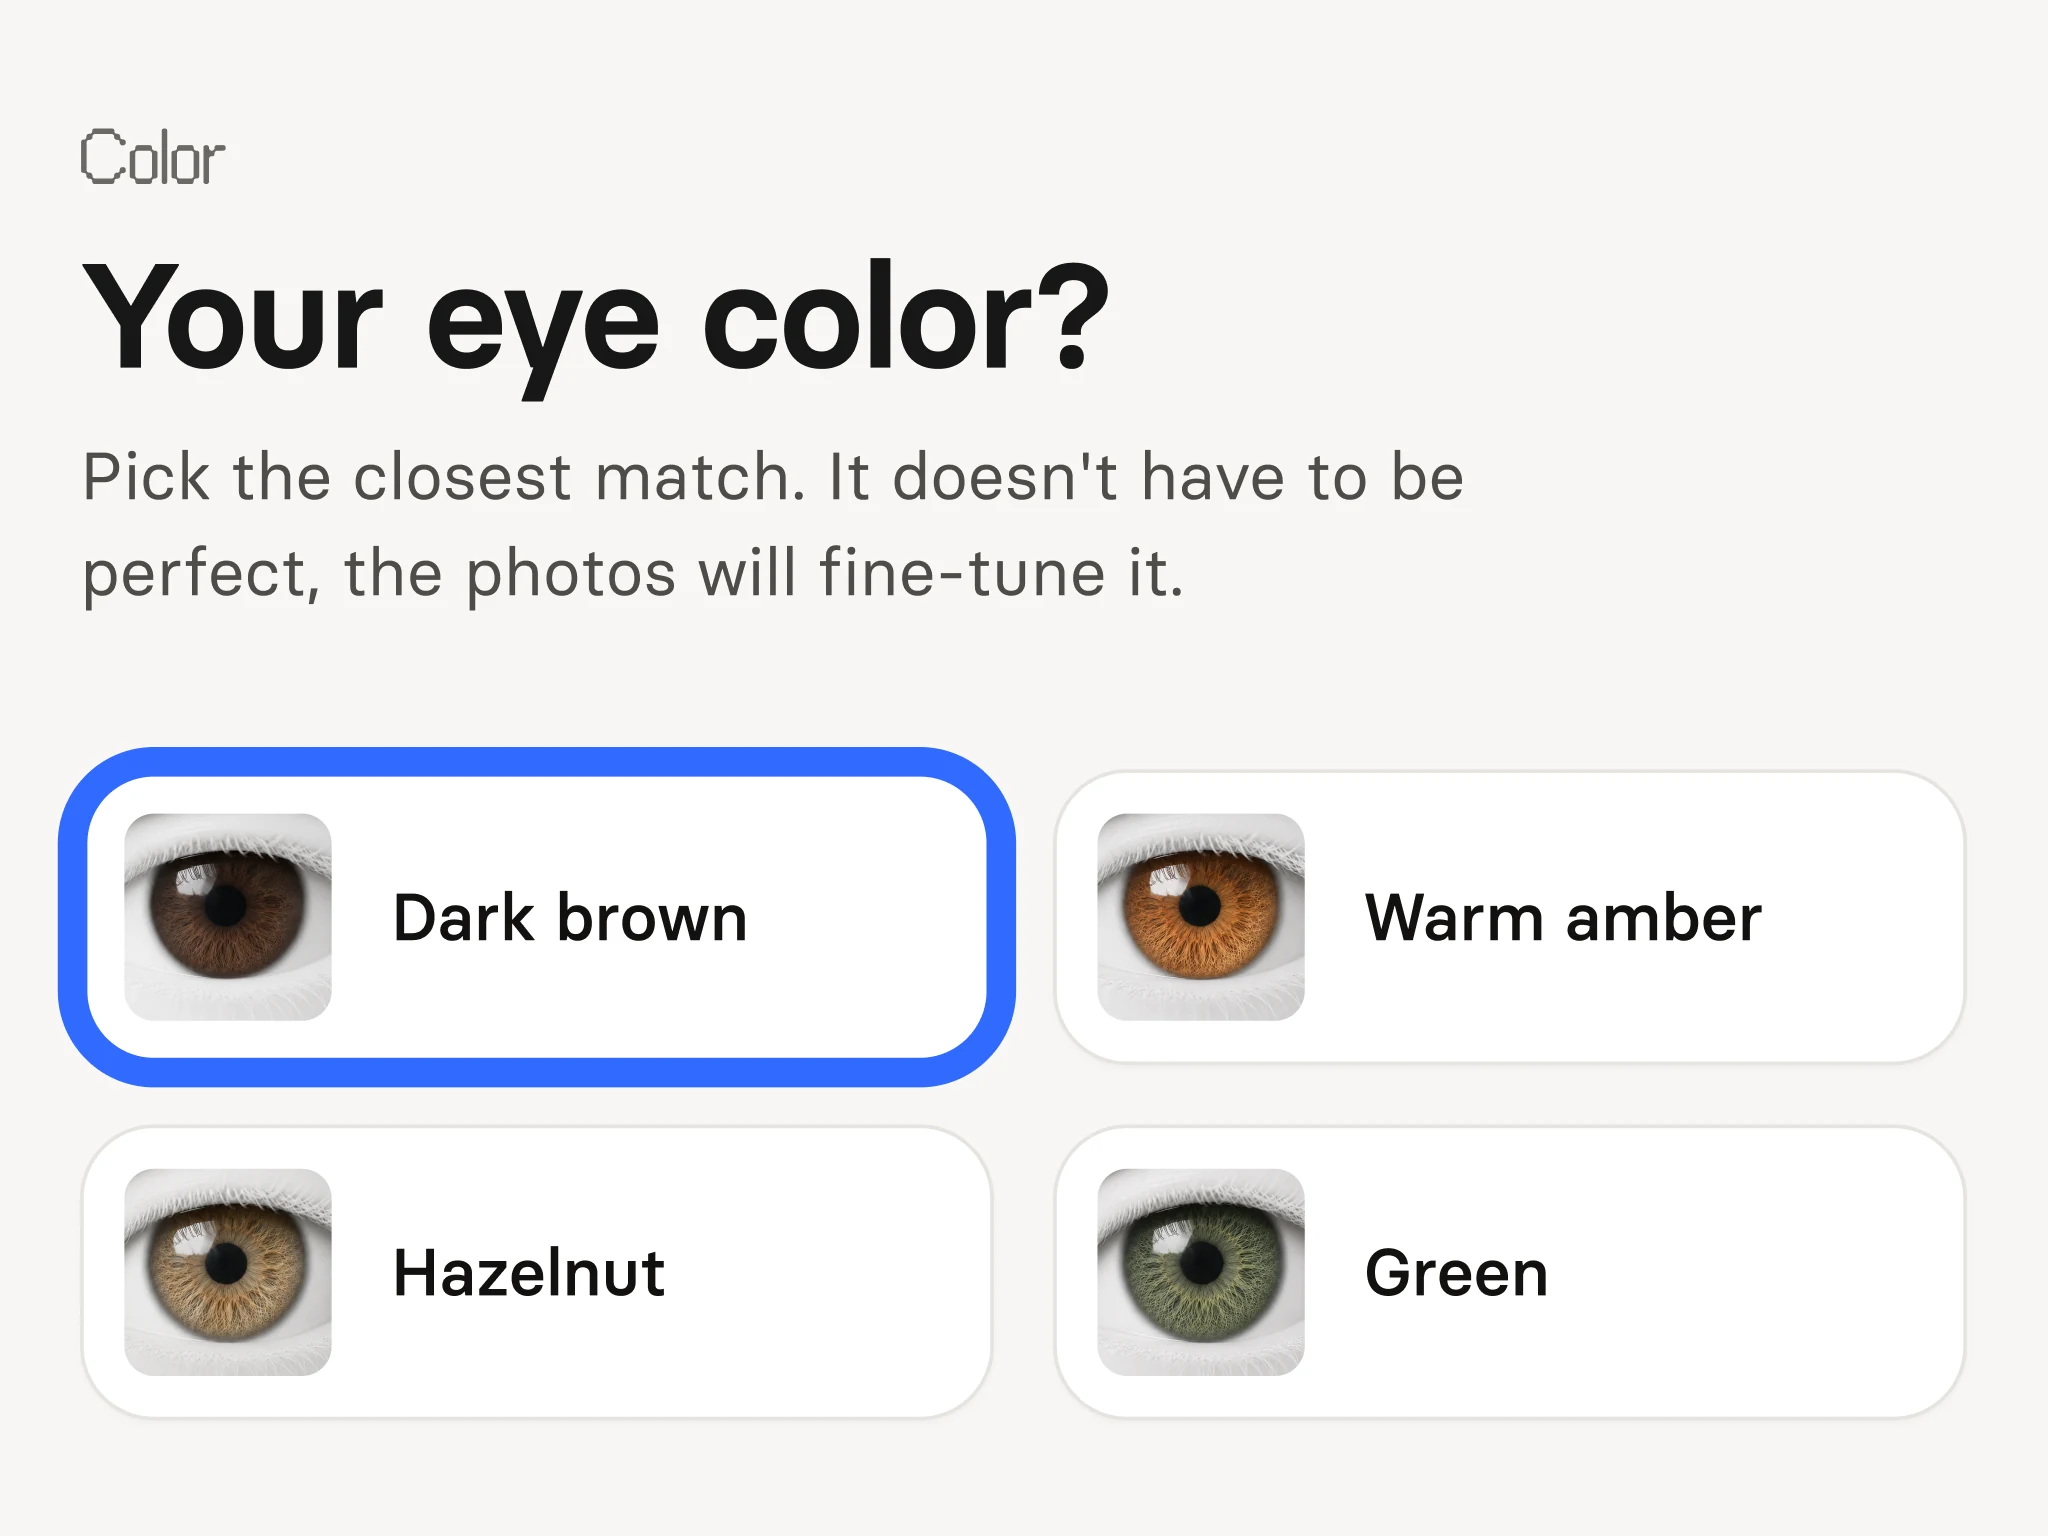
A fair question before you pay for anything photo-based. In our system, photos are a hypothesis, not a verdict. Your questionnaire answers carry more weight and correct the photos when they disagree. A photo the analysis cannot read is dropped and your answers carry that part instead, so a bad shot does not silently wreck your result.
You can see the answers win in the sample analysis, the real result of co-founder Filip Poláček. His photos alone suggested True Autumn. His answers settled it one step deeper, on Deep Autumn, which Wearly Labs calls Dark Autumn. True Autumn stays on his page as the sister season, and anything both seasons accept is a safe buy.
The upload checks each file as you go. A photo under 800 by 600 pixels, or in a format we cannot open, is refused on the spot, and you retake that one shot, not start over. Your answers stay saved.
FAQ
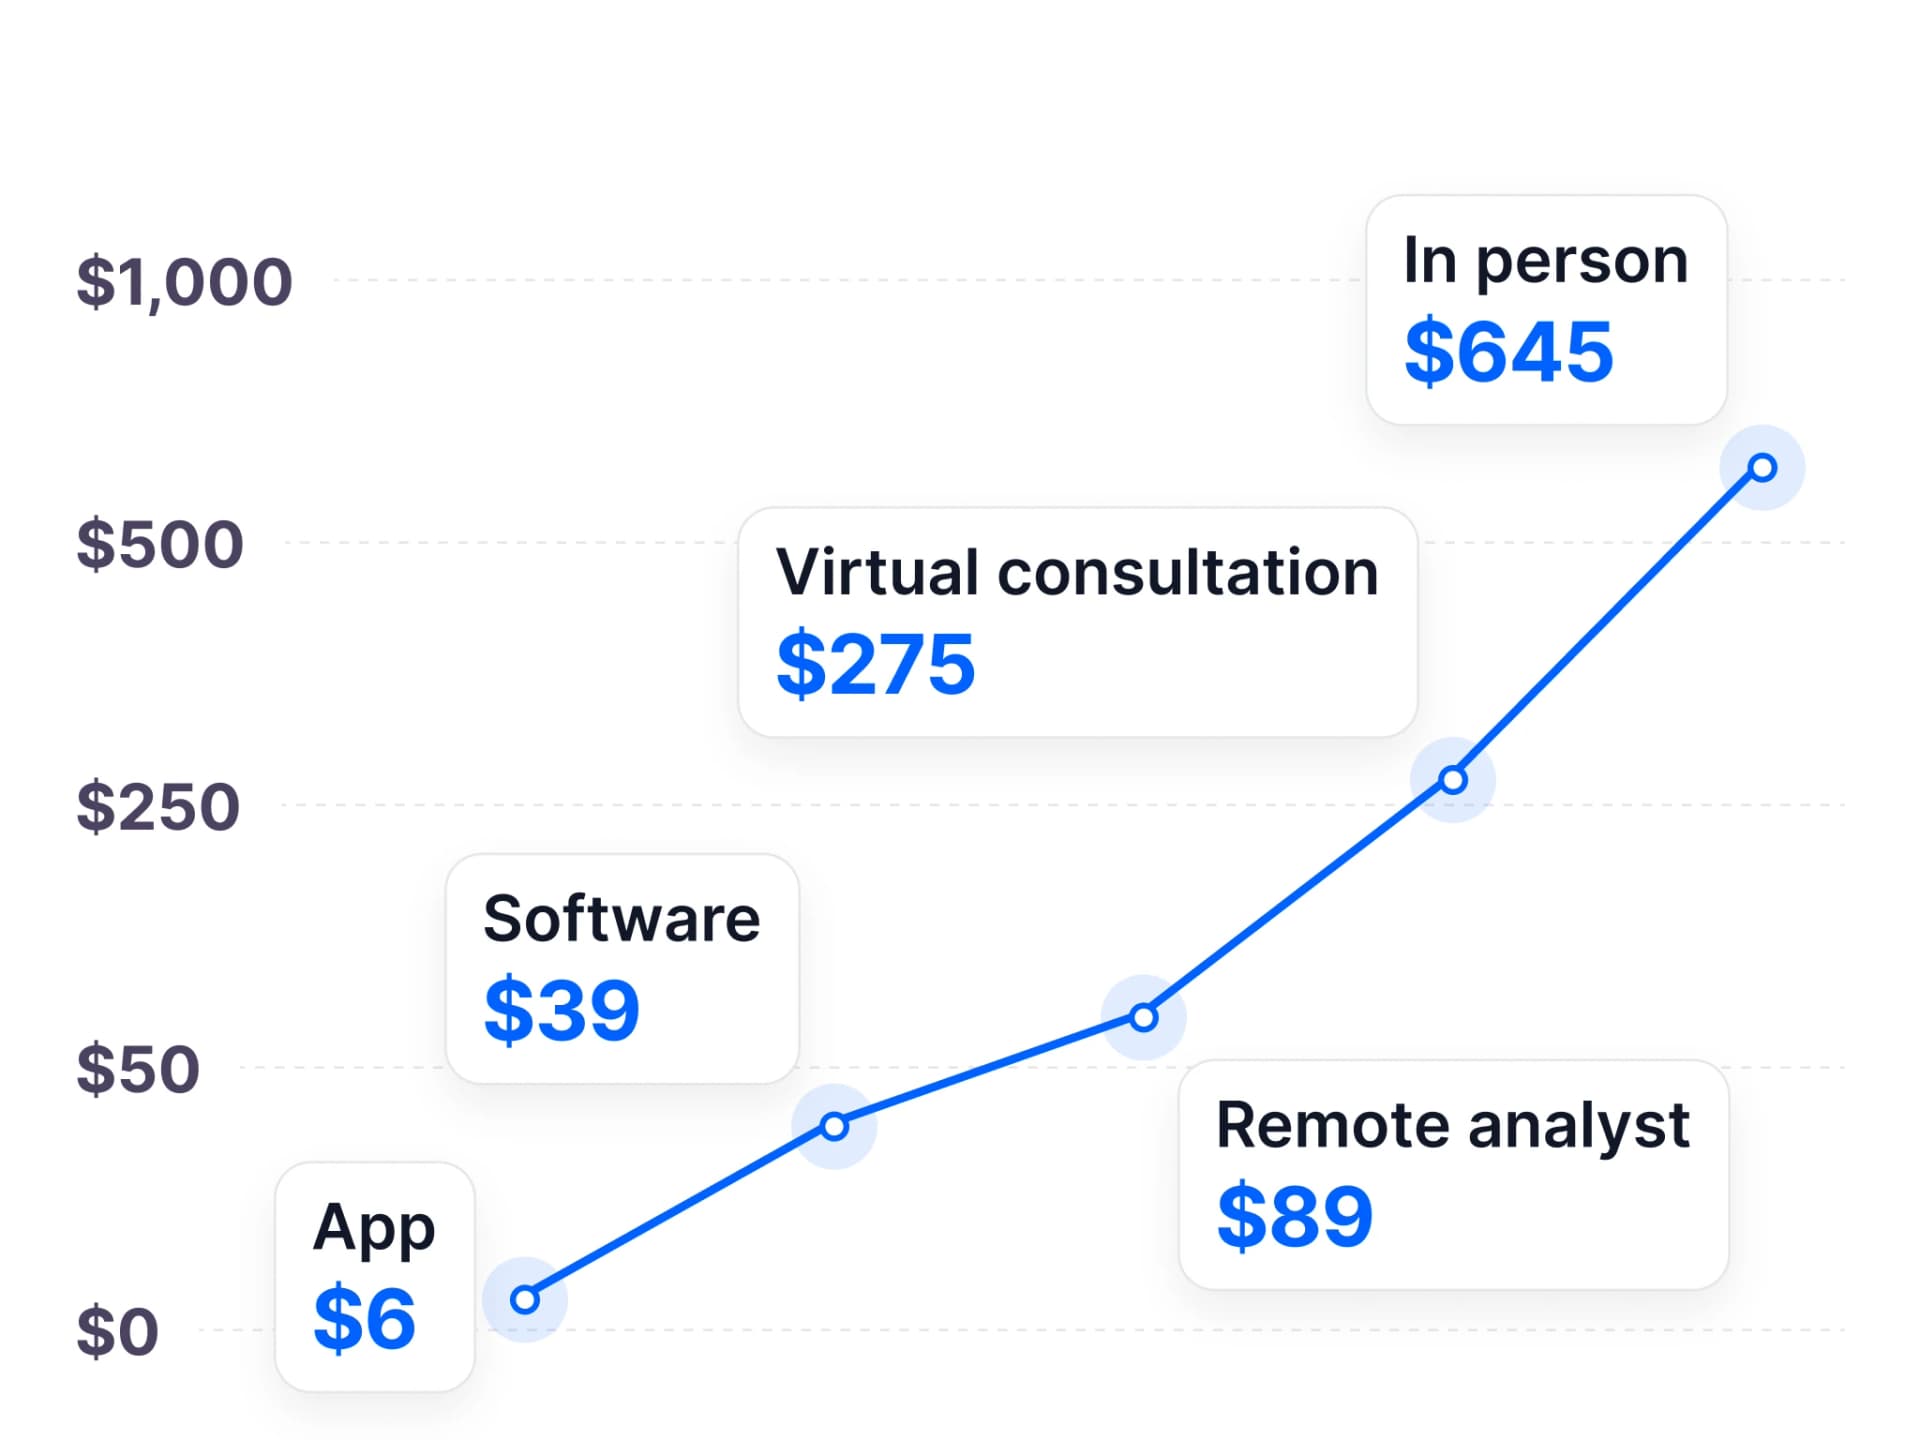
It varies by service. Palette Hunt asks you to "upload one selfie in natural light" (checked October 2026). Wearly Labs asks for five, because the analysis reads your body as well as your coloring: three face shots for your skin, hair, eyes and features, and two full-length shots for your shape and line. An in-person consultant needs none, because you sit in their light.
Yes. Light quality matters far more than camera quality. The upload takes JPEG, PNG and HEIC files up to 50 MB and needs at least 800 by 600 pixels, which any recent phone camera clears many times over.
By a window at dusk, no. Under a neutral white LED, workable but not ideal. Best answer: wait for daylight, it costs you nothing.
It can move it. A tan darkens your skin, so a photo taken in August reads deeper than your skin does most of the year. The questionnaire asks what the sun does to your skin, burn or tan, and your answers weigh more than the photos. If you can choose, take the photos when your skin is at its usual shade.
Photograph it as it is. The questionnaire asks for your natural hair color, the one a photo cannot show, and your answers outrank the photos where the two disagree.
Take the face shots without it anyway. For the analysis we need the canvas, not the painting. You get palette recommendations that work with your real coloring, which makes your makeup choices better too.
They are deleted about 15 minutes after your analysis, always within 24 hours, and never used to train AI. The details are in the privacy policy.